The Media library allows you to upload files from your computer to your NoCode-X application. A search function is provided to quickly find which files you need.
Files in the media library have multiple uses, and there are multiple ways to upload them:
- Use in templates: for example, you can put an image stored in the media library into a template using the Image component. For more information, we refer to the no code UI components section.
- Use as storage: files in the Media library are stored in the cloud, so you and your team can access them from anywhere, provided you have an internet connection.
- Allow users to upload files: files dropped into the File uploader component will also appear in the media library. This allows clients to upload files without needing access to your backoffice application.
- Upload files directly: explained below.
Upload file to the media library
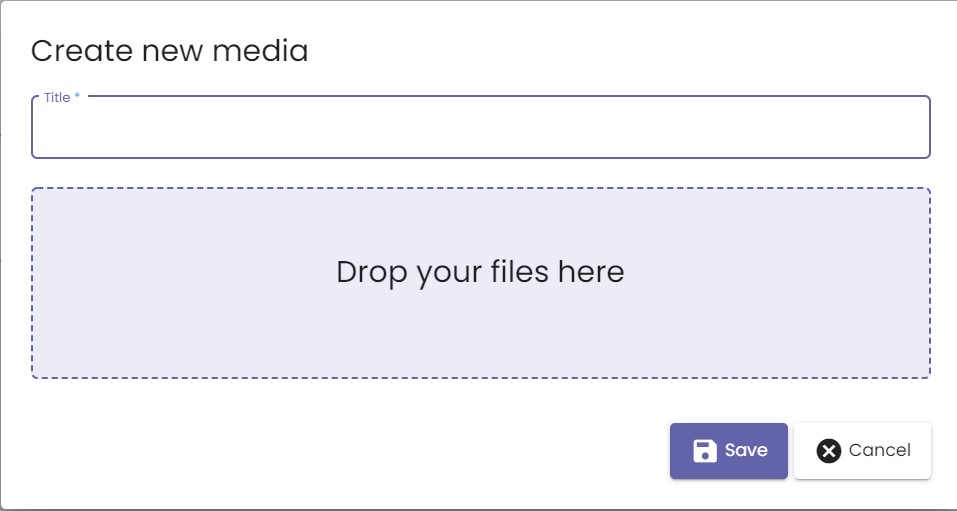
You can upload a file by pressing the New button in the top right corner of the media library. The image below shows what will appear on the screen. Now follow these steps:
- Name the file.
- Upload the file. You can do this by dragging the file into the Drop your files here box.
- Press Save.
- A second window appears. You can add alt text and tags to the file here.
- Press Save again. A green success popup appears on the bottom of the screen.
The file is then stored securely in the media library. You can edit the files properties again by clicking the pen icon on the right.
The images below demonstrate the steps above.


You can remove one or multiple files by checking the box to the left of the file(s) and then clicking the Remove button in the top right, next to the New button.
